ADA Compliance Explained: Accessible Bracket Solutions
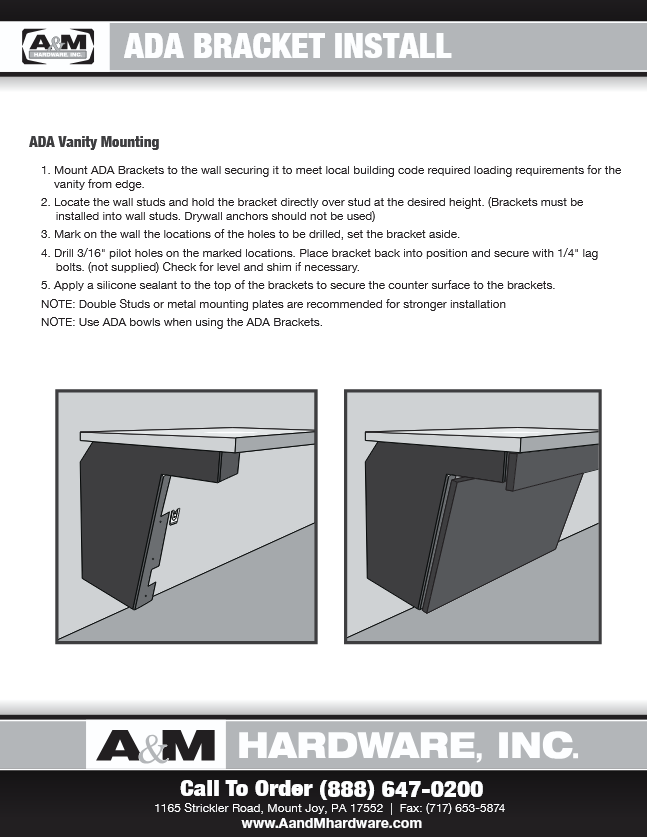
Easy ADA Bracket Installation
Creating accessible spaces isn't just about meeting legal requirements; it's about ensuring everyone can navigate their environment with dignity and independence. When it comes to bathroom design, ADA-compliant brackets play a crucial role in making facilities truly accessible. At A&M Hardware, we understand that choosing the right bracket solutions can make all the difference in creating spaces that work for everyone.
The Americans with Disabilities Act (ADA) sets specific standards for accessible design, and vanity brackets are an essential component of compliant bathroom installations. Whether you're renovating a commercial facility, updating a public restroom, or designing an accessible home, understanding ADA bracket requirements will help you create safe, functional spaces that meet both legal standards and user needs.
ADA Bracket Features
ADA-compliant brackets are engineered with specific features that distinguish them from standard mounting hardware. These design elements ensure that sinks and countertops are properly supported while maintaining the clearances necessary for wheelchair access.
- Load-Bearing Capacity: ADA brackets must support significant weight (typically 250 pounds or more), to safely accommodate users who may need to lean or put pressure on the sink. Heavy-duty construction using materials like steel or reinforced aluminum ensures long-term reliability and safety.
- Knee Clearance Design: One of the most critical features is the bracket's ability to provide adequate knee clearance underneath the sink. ADA standards require a minimum of 27 inches of clearance height, 30 inches of width, and 11-19 inches of depth depending on the fixture. Brackets are designed with a low profile or rear-mounting configuration to maximize this essential space.
- Adjustability: Quality ADA brackets often include adjustment features that allow for precise height positioning. This flexibility ensures compliance with the ADA requirement that sink rim height not exceed 34 inches from the floor, while also accommodating various sink styles and installation conditions.
- Durability and Corrosion Resistance: Commercial-grade finishes and materials protect against moisture, cleaning chemicals, and heavy use. Powder-coated steel or stainless steel options provide lasting performance in demanding environments.
- Concealed Mounting: Many ADA brackets feature designs that hide fasteners and mounting points, creating a cleaner appearance while eliminating potential hazards or sharp edges that could cause injury.
Step-by-Step: Installing ADA Vanity Brackets
Proper installation is critical for both safety and compliance. Follow these steps to ensure your ADA vanity brackets are installed correctly.
Step 1: Verify Wall Structure and Location
Before beginning installation, confirm that you're mounting to solid blocking or structural framing capable of supporting the required load. Use a stud finder to locate framing members, and ensure your mounting height will position the sink rim at 34 inches or lower from the finished floor. Mark the center line where the sink will be positioned.
Step 2: Determine Bracket Placement
Measure and mark bracket locations according to the manufacturer's specifications and your sink dimensions. Brackets should be positioned to provide maximum support while maintaining required knee clearance. Typically, brackets are mounted toward the rear of the sink basin to keep the front area open.
Step 3: Install Backing or Blocking
If adequate framing isn't available at your marked locations, install solid wood blocking between studs. This blocking should be at least 2x6 lumber secured to multiple studs to distribute the load. In commercial applications, this backing should extend across the full width of the installation.
Step 4: Mount the Brackets
Using appropriate fasteners (typically 3/8-inch lag bolts or equivalent), secure the brackets to the wall structure. Follow the manufacturer's torque specifications and ensure each bracket is level.
Step 5: Install the Countertop or Sink
Carefully position your sink or countertop onto the mounted brackets. Many ADA installations use wall-hung sinks without traditional vanity cabinets, so the brackets bear the full weight. Ensure the sink is level in all directions and secure it according to the manufacturer's instructions.
Step 6: Apply Sealant and Finishing Touches
Apply a bead of silicone sealant around the sink's back edge where it meets the wall. This prevents water infiltration that could damage the wall structure. Install any trim pieces or covers that came with your bracket system.
Step 7: Conduct a Load Test
Before considering the installation complete, carefully apply pressure to the sink from various angles to ensure solid mounting. While you shouldn't apply your full body weight, test that the installation feels secure and stable. Check that all clearance requirements are met and no obstructions limit wheelchair access.
FAQs
What is an ADA-compliant bracket?
An ADA-compliant bracket is a mounting system specifically designed to support wall-mounted sinks and countertops while meeting the accessibility requirements established by the Americans with Disabilities Act. These brackets must provide exceptional load-bearing capacity; typically supporting at least 250 pounds while maintaining the specific clearances required for wheelchair access beneath the sink.
The key distinguishing feature of ADA-compliant brackets is their design configuration that preserves knee and toe clearance underneath the fixture. This means the brackets are engineered to mount in ways that don't obstruct the space needed for wheelchair users to approach the sink comfortably. They typically feature rear-mounting designs or low-profile configurations that keep support structures out of the required clearance zone, which must be at least 27 inches high, 30 inches wide, and provide 11-19 inches of depth depending on the specific fixture requirements.
How do ADA brackets improve accessibility?
ADA brackets fundamentally transform bathroom accessibility by enabling wall-mounted sink installations that wheelchair users can approach and use comfortably. Traditional vanity cabinets create barriers that prevent wheelchairs from rolling close enough to the sink, forcing users to reach uncomfortably or making sinks entirely unusable. ADA brackets eliminate this obstacle by supporting sinks without bulky cabinets, creating the open knee space essential for wheelchair access.
Beyond simply providing clearance, these brackets enhance accessibility through their robust construction and thoughtful design. Their high load-bearing capacity means users can safely lean on the sink for support or balance—an important consideration for people with mobility challenges who may need to brace themselves while washing hands or grooming. The durability of properly installed ADA brackets provides confidence that fixtures will remain secure even with repeated use and varied forces applied from different angles.
ADA brackets also improve accessibility for people with diverse needs beyond wheelchair users. The open design benefits parents assisting small children, caregivers helping individuals with disabilities, and people of varying heights who find different sink approaches more comfortable. By creating flexible, open spaces rather than fixed cabinetry, ADA bracket installations accommodate a wider range of users and usage scenarios, making facilities more inclusive for everyone.
Ready to create accessible spaces?
A&M Hardware offers a complete selection of ADA-compliant bracket solutions designed for durability, safety, and code compliance. Our knowledgeable team can help you choose the right products for your residential or commercial project. Contact us today to discuss your accessible design needs.
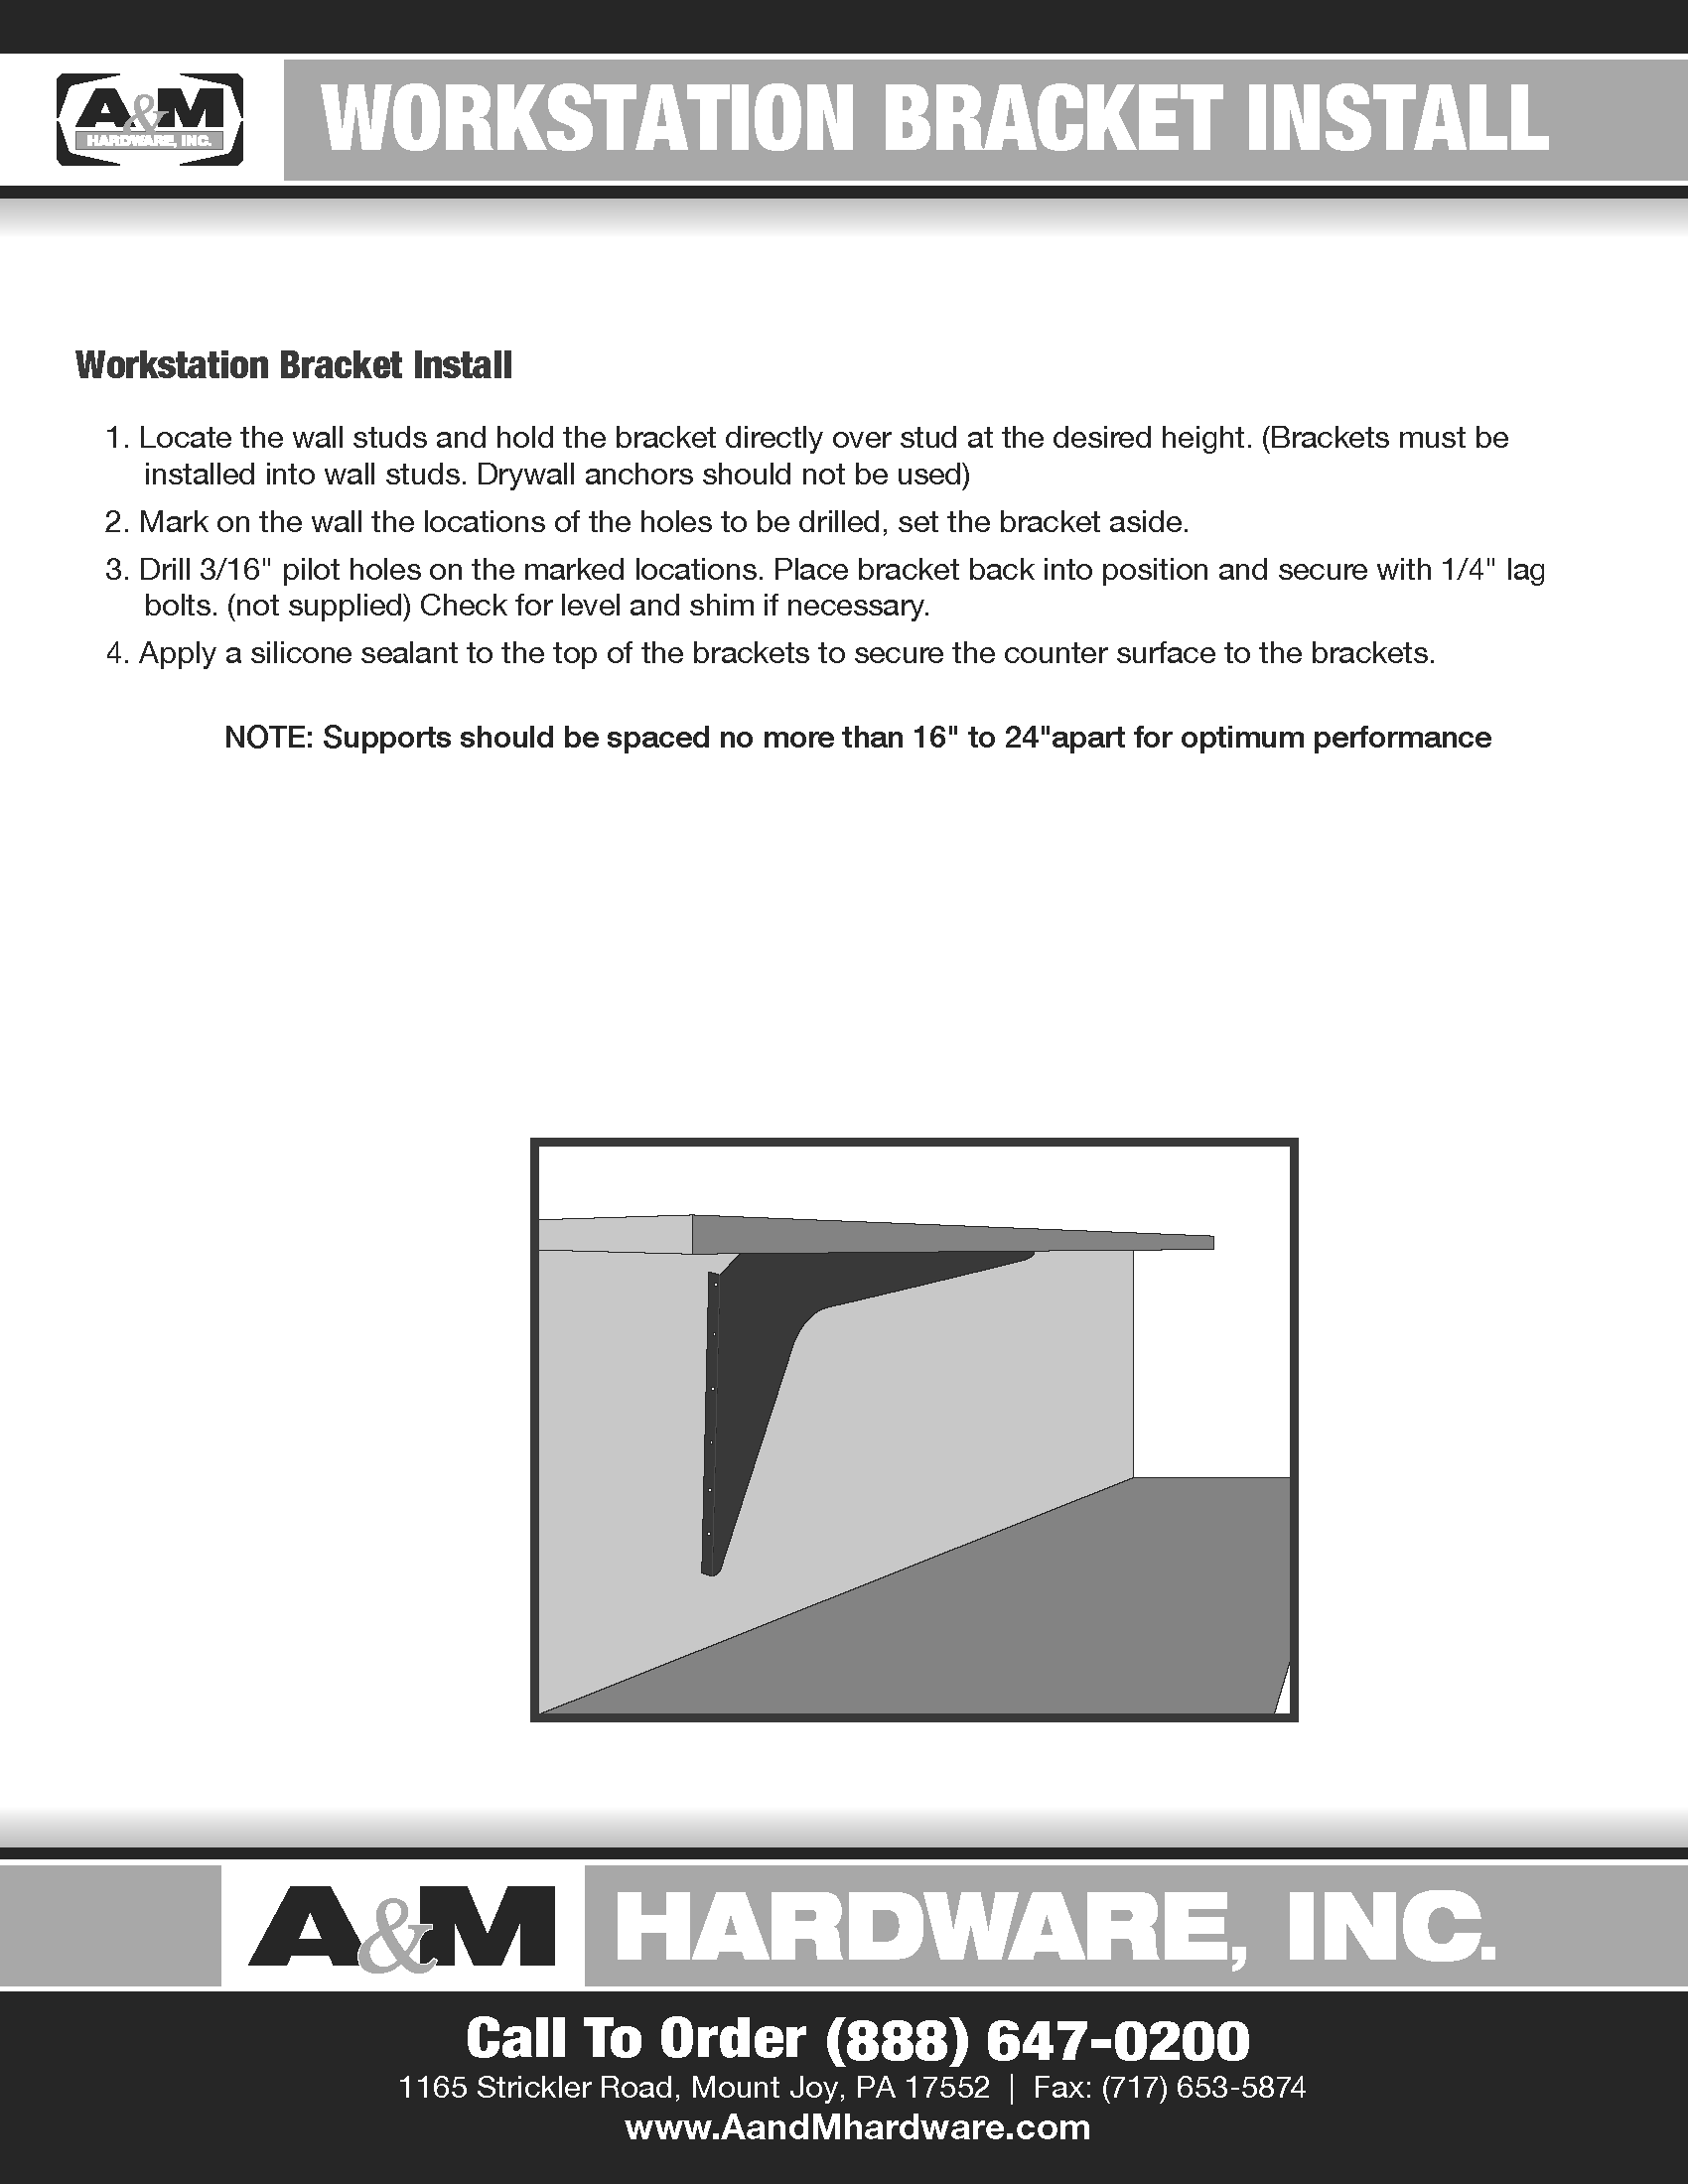
All Bracket Installation
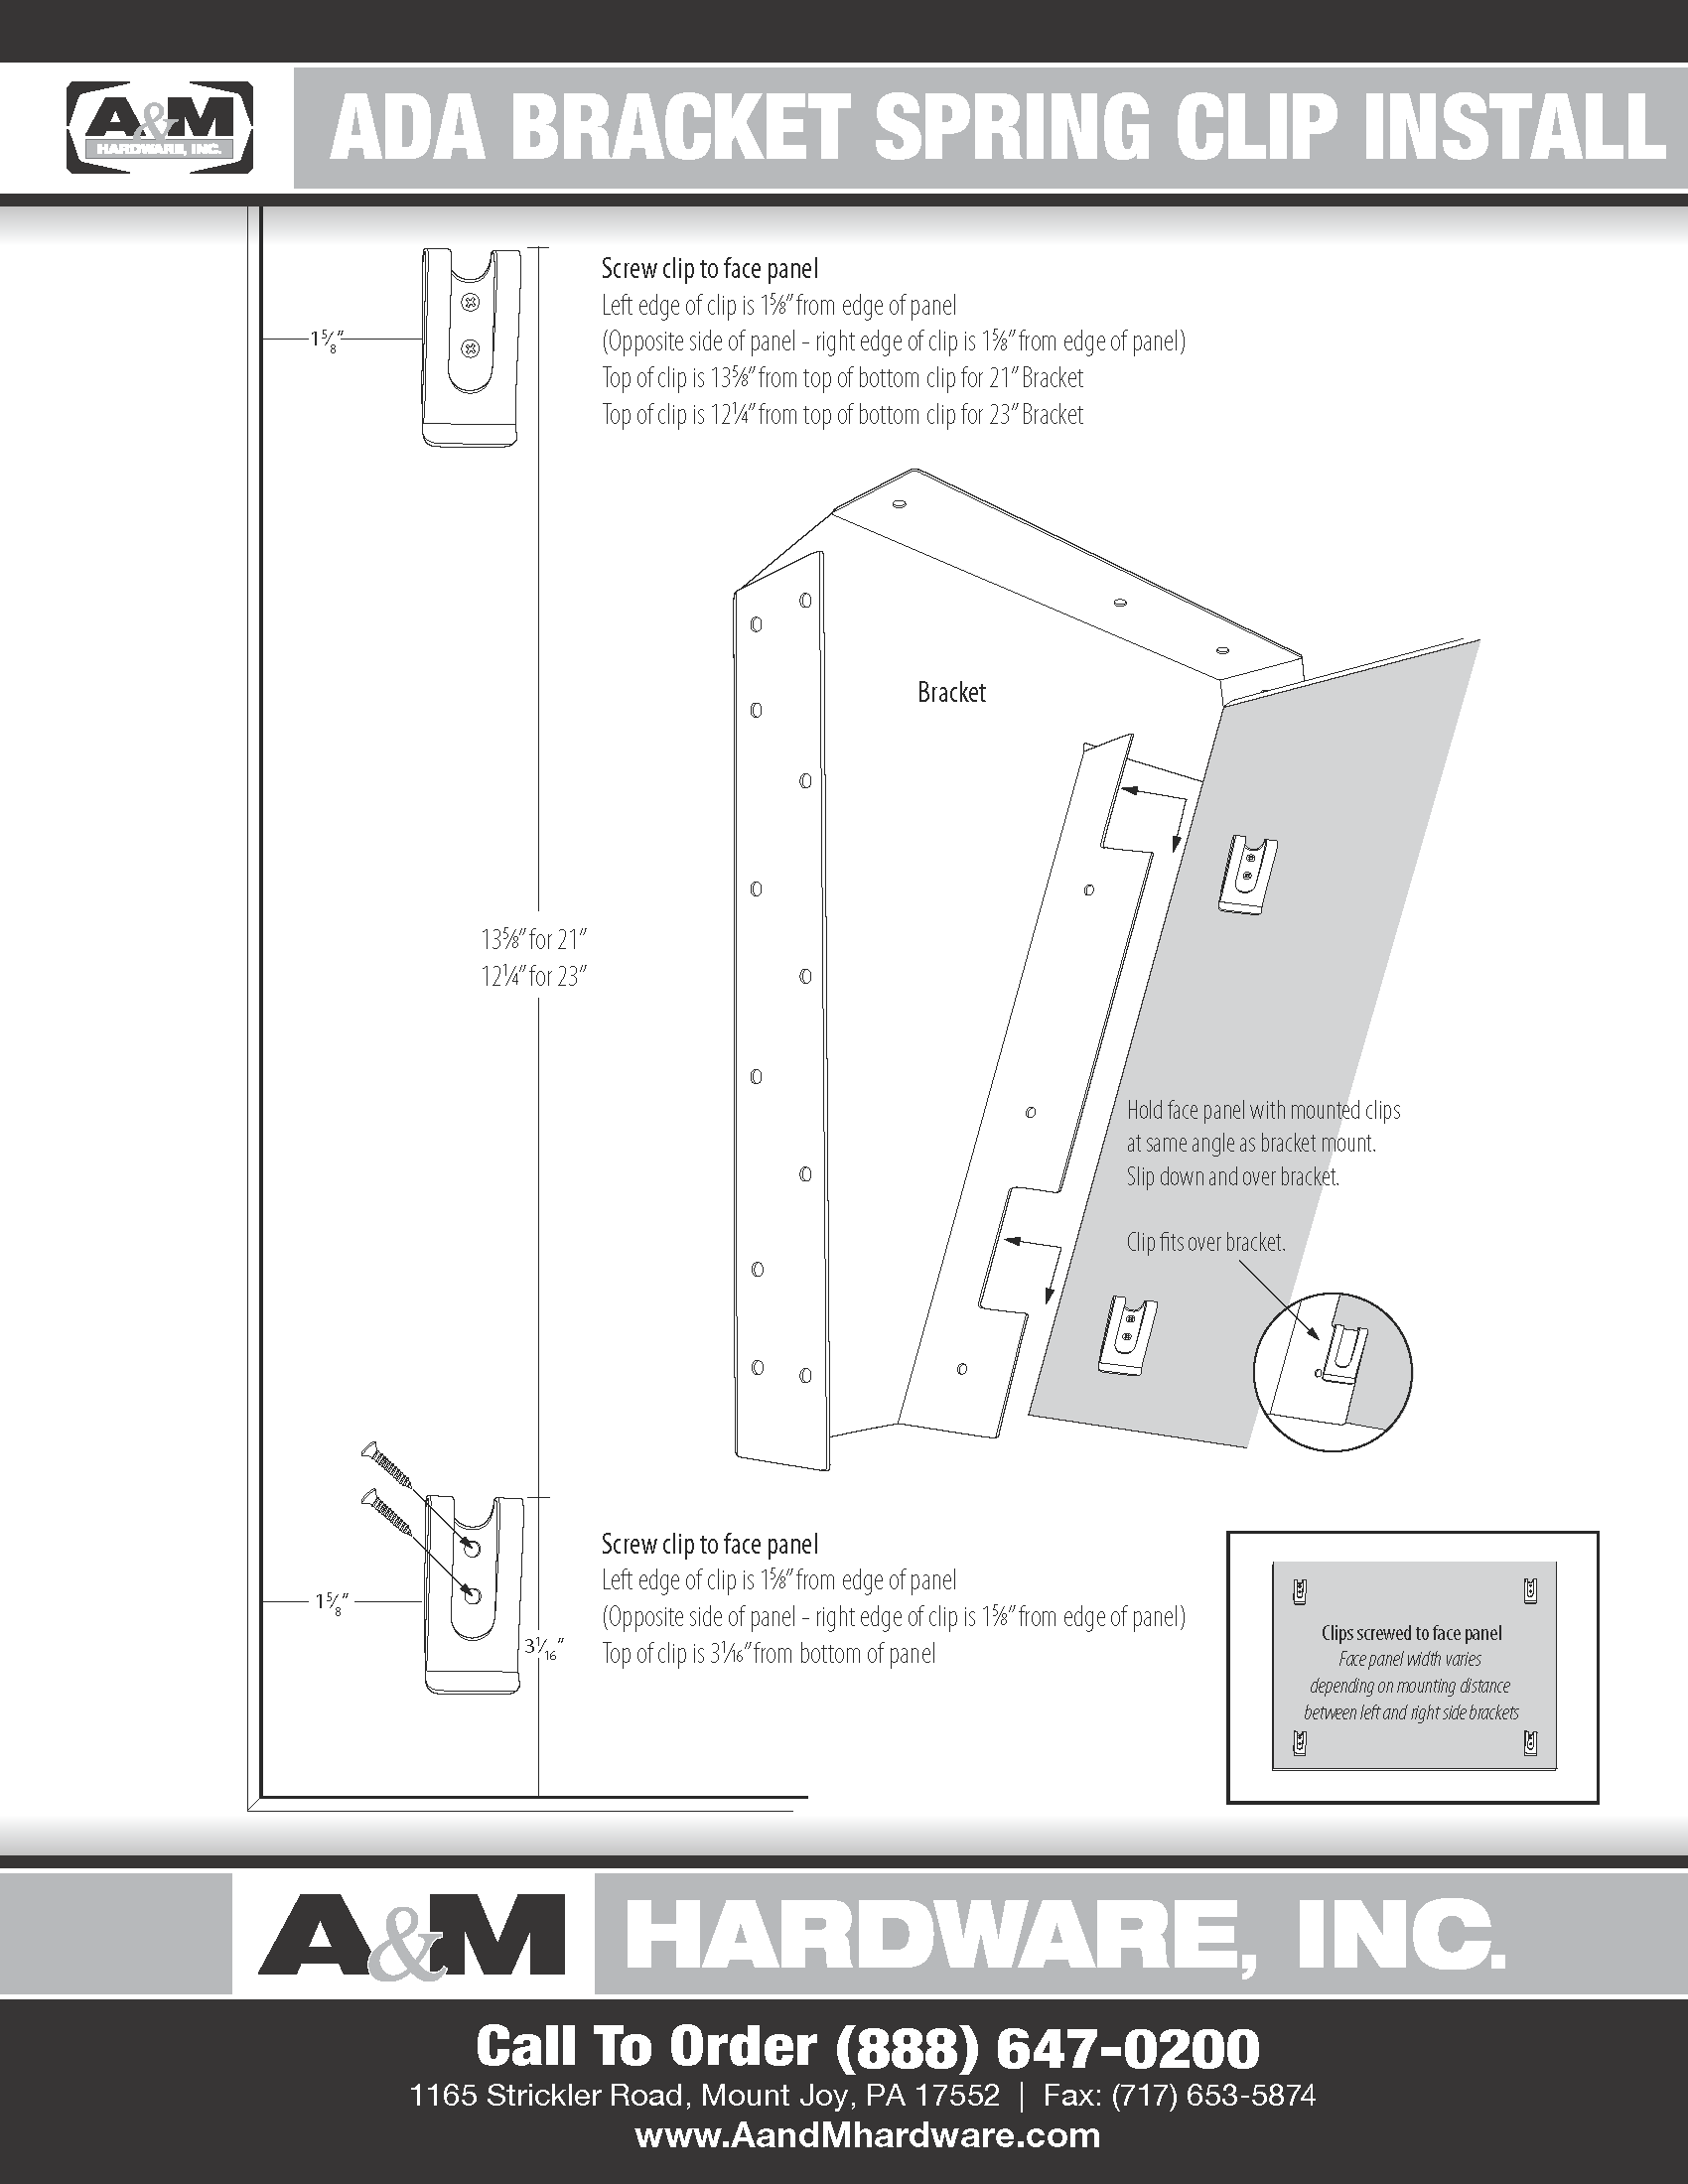
ADA Bracket Clip Installation
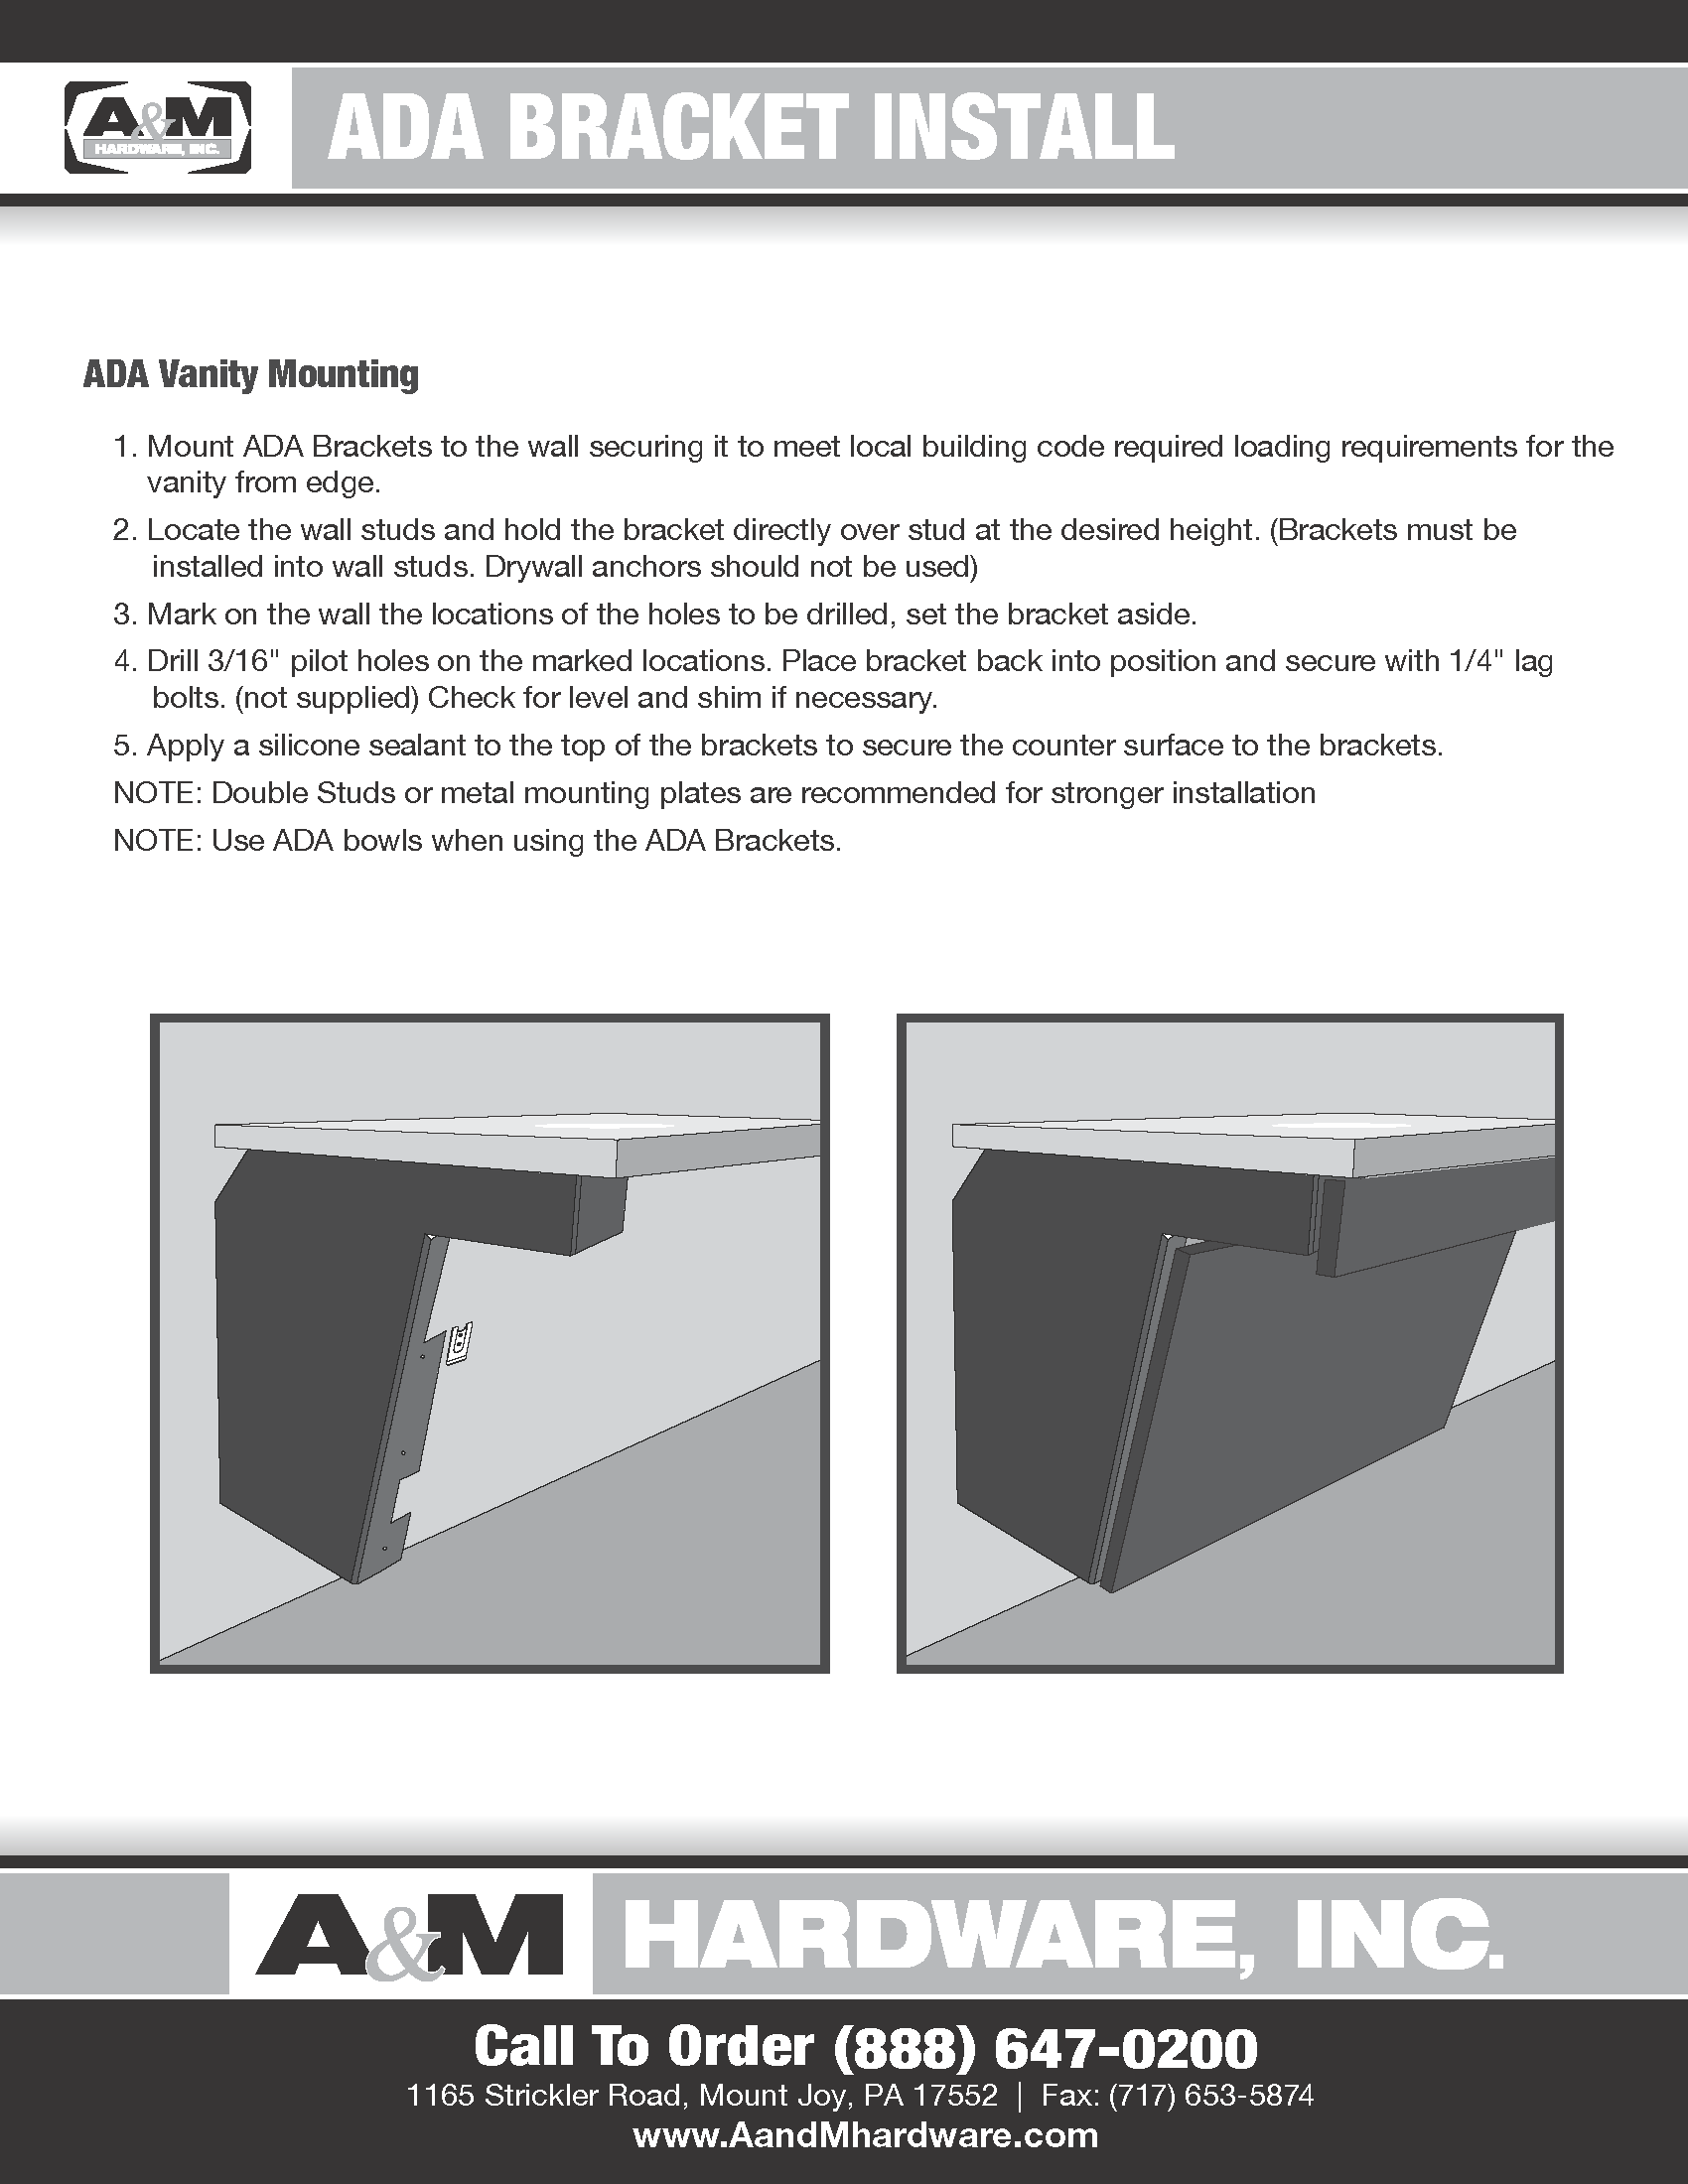
ADA Vanity Bracket Installation
C-EC Bracket Installation
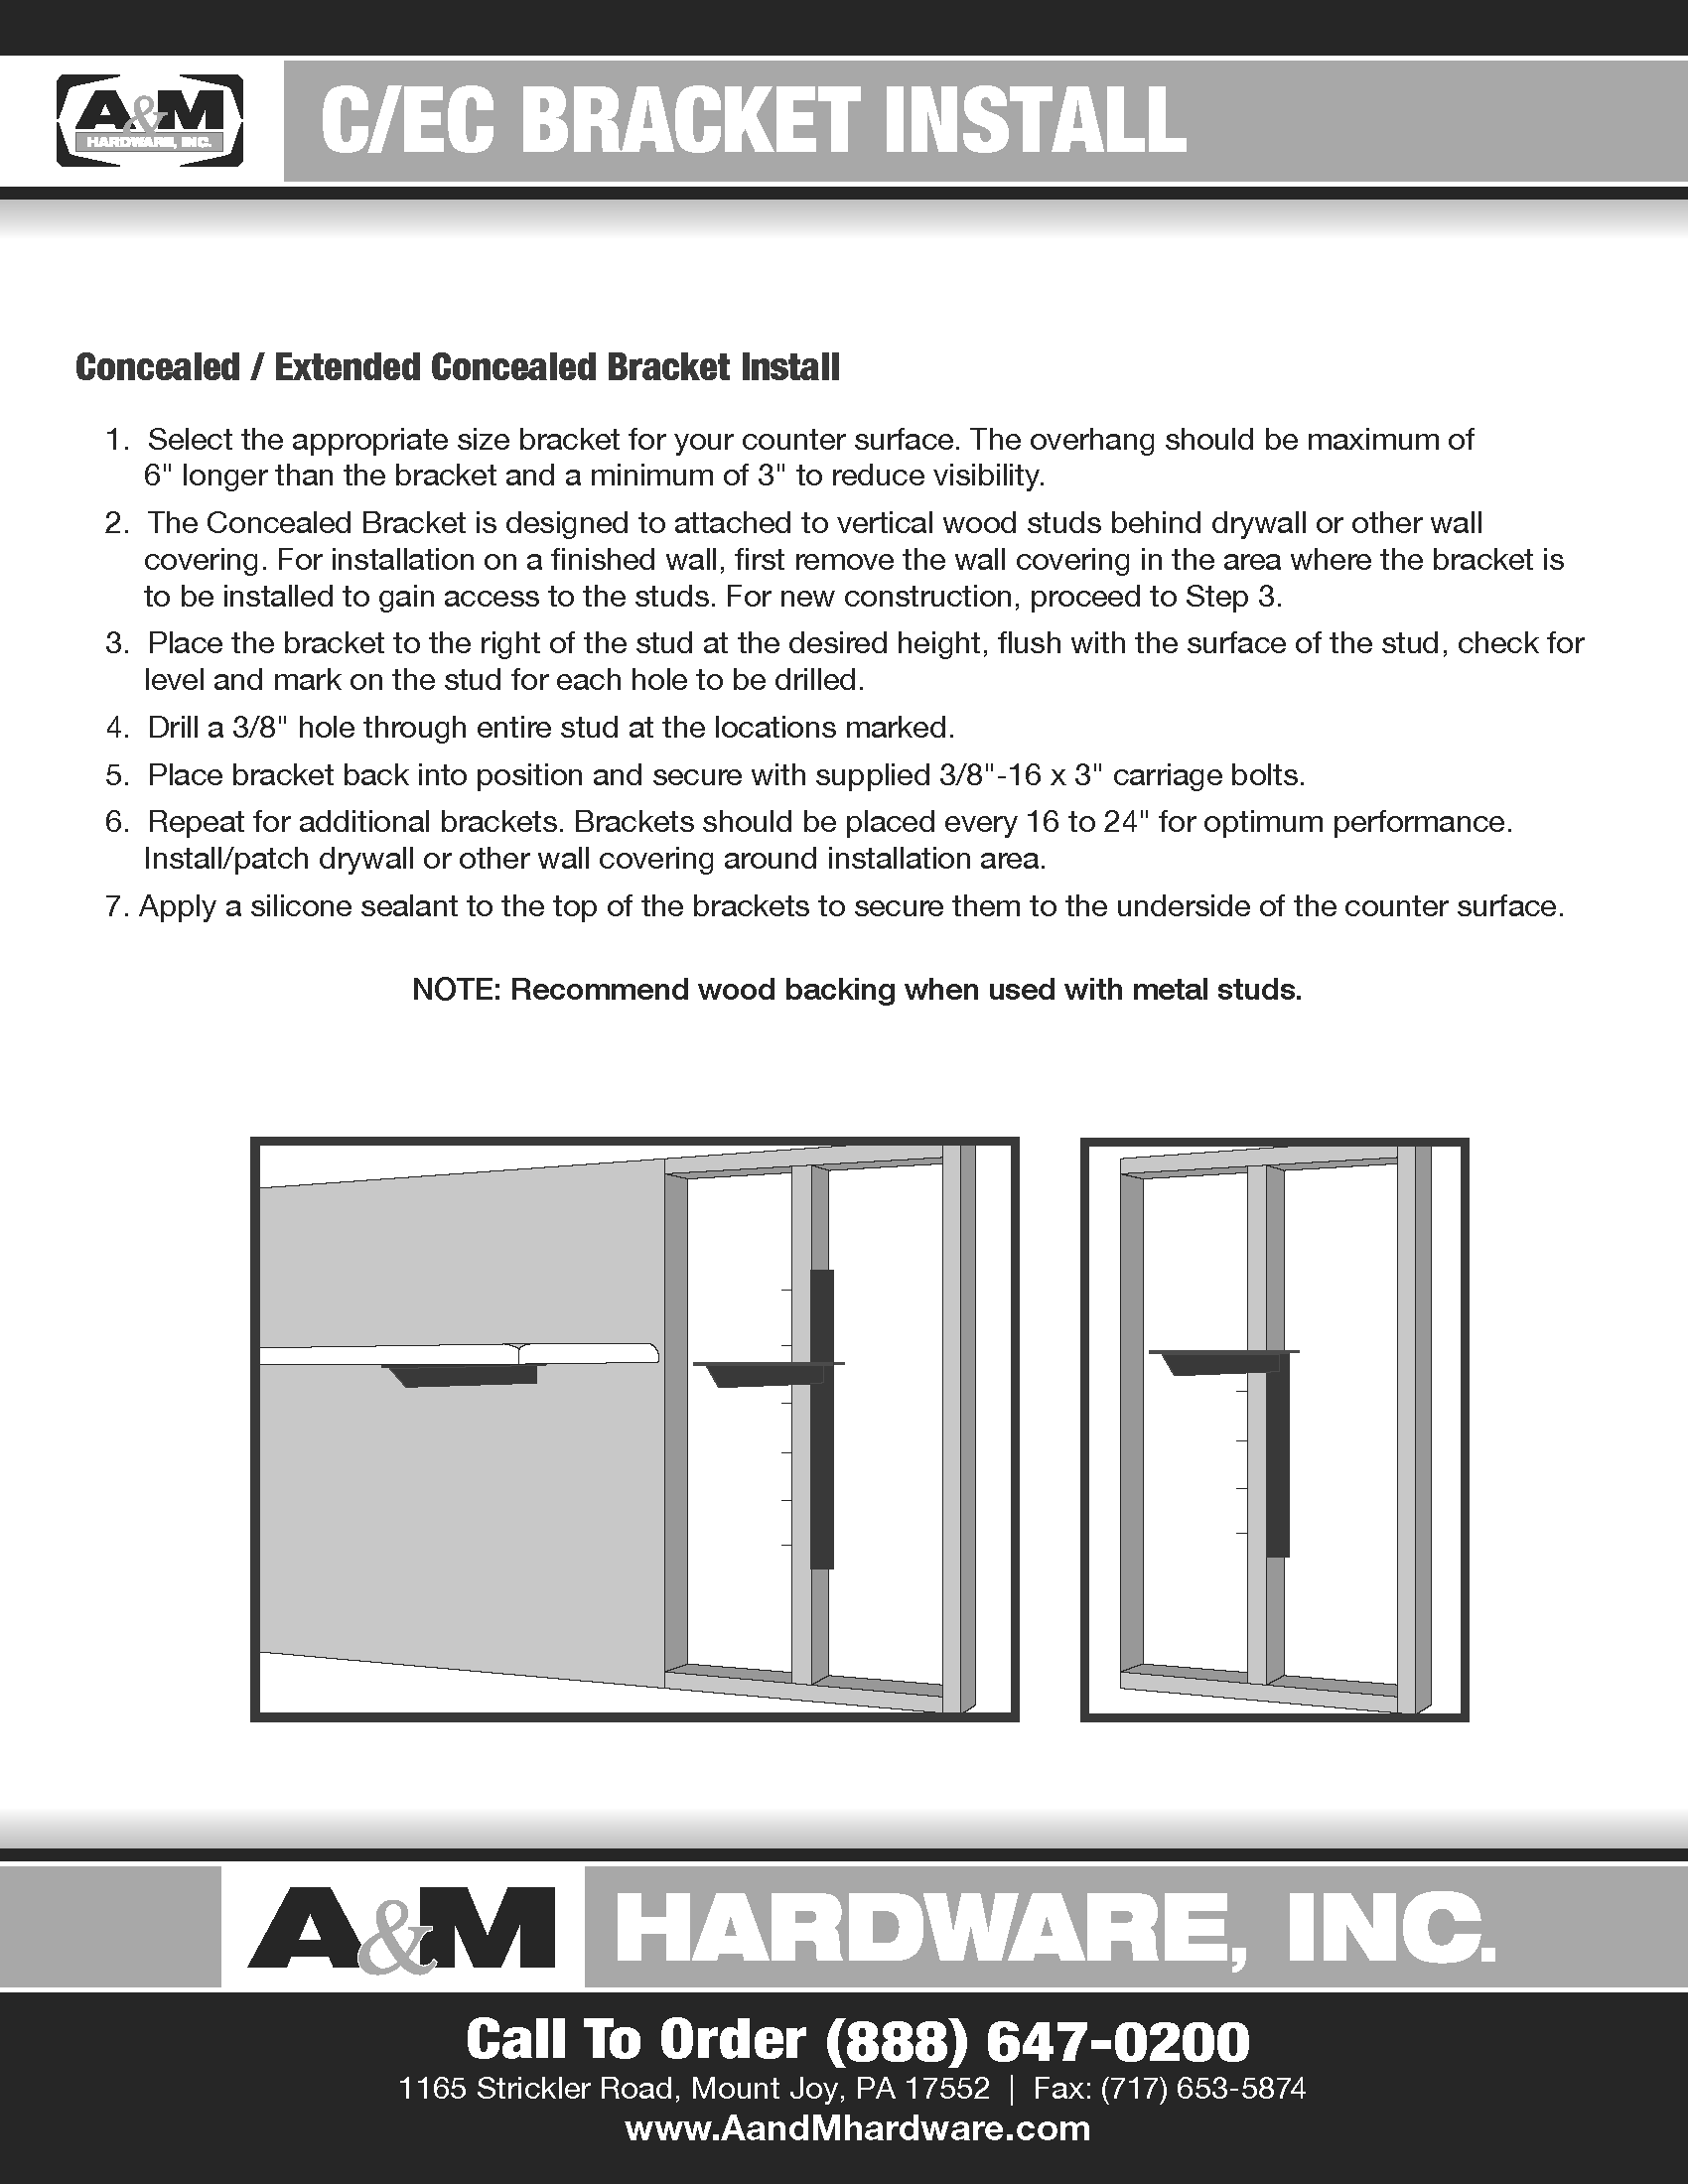
Hybrid Bracket Surface Installation
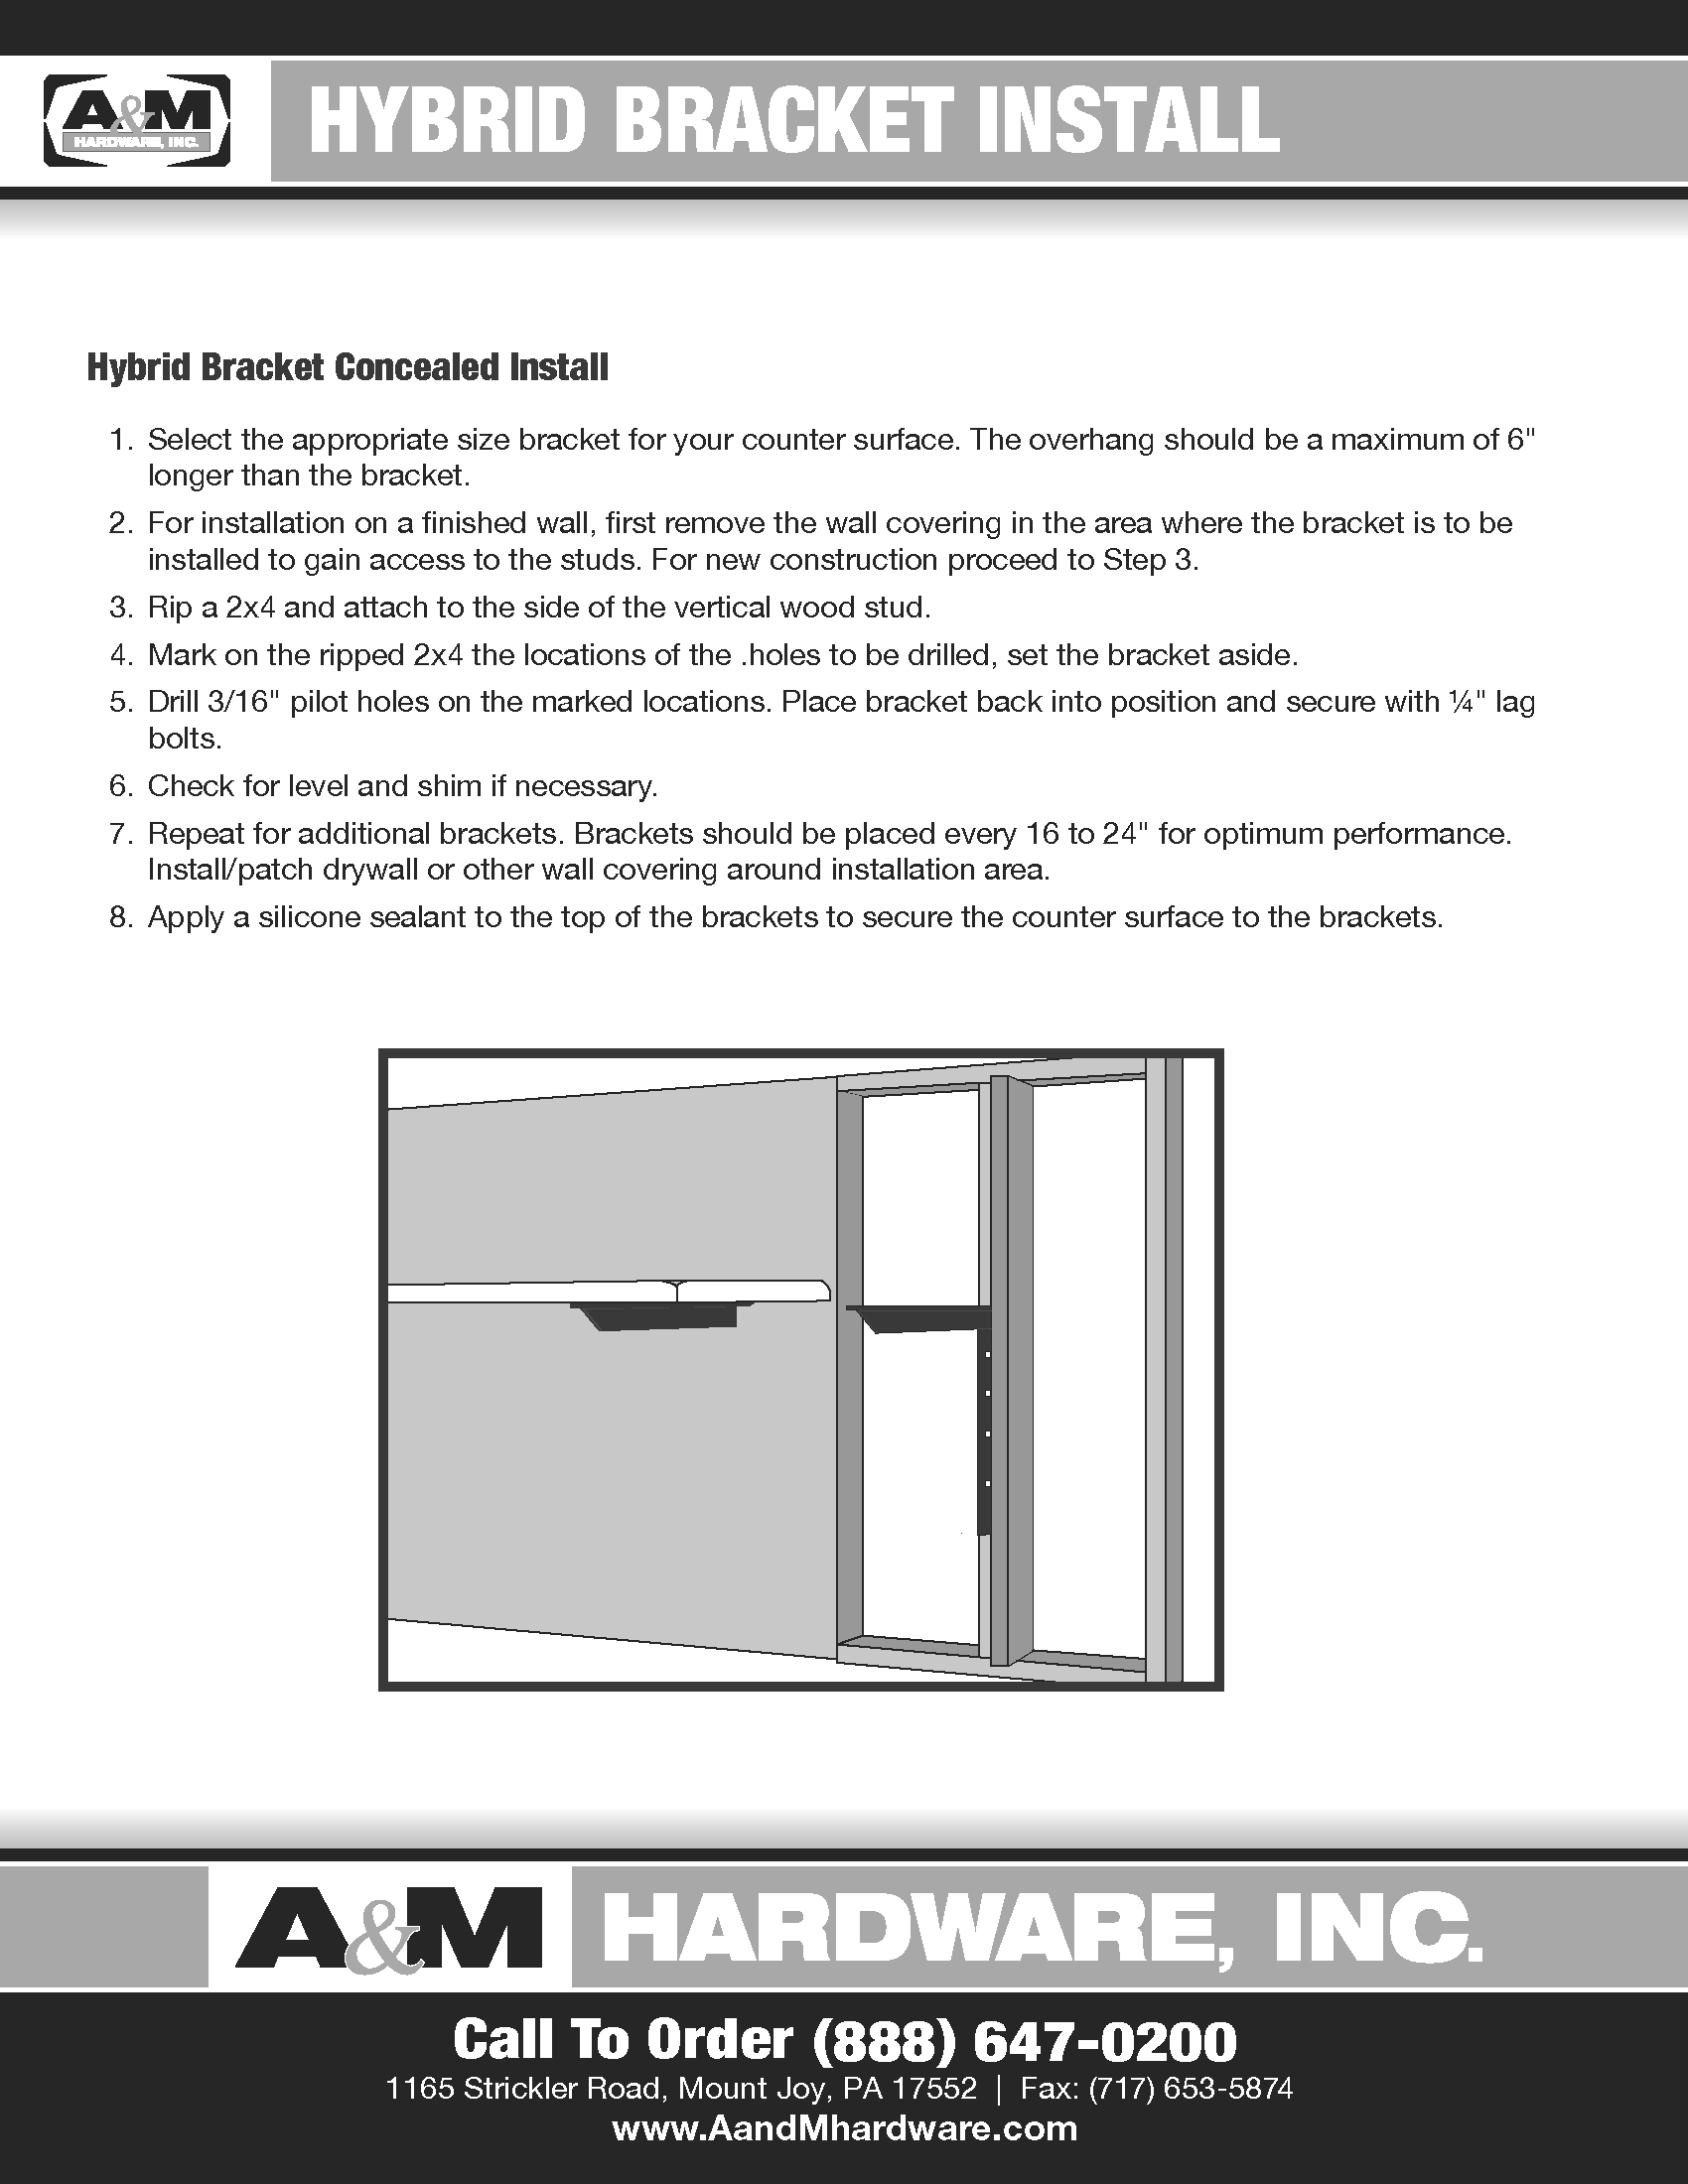
Hybrid Bracket Concealed Installation
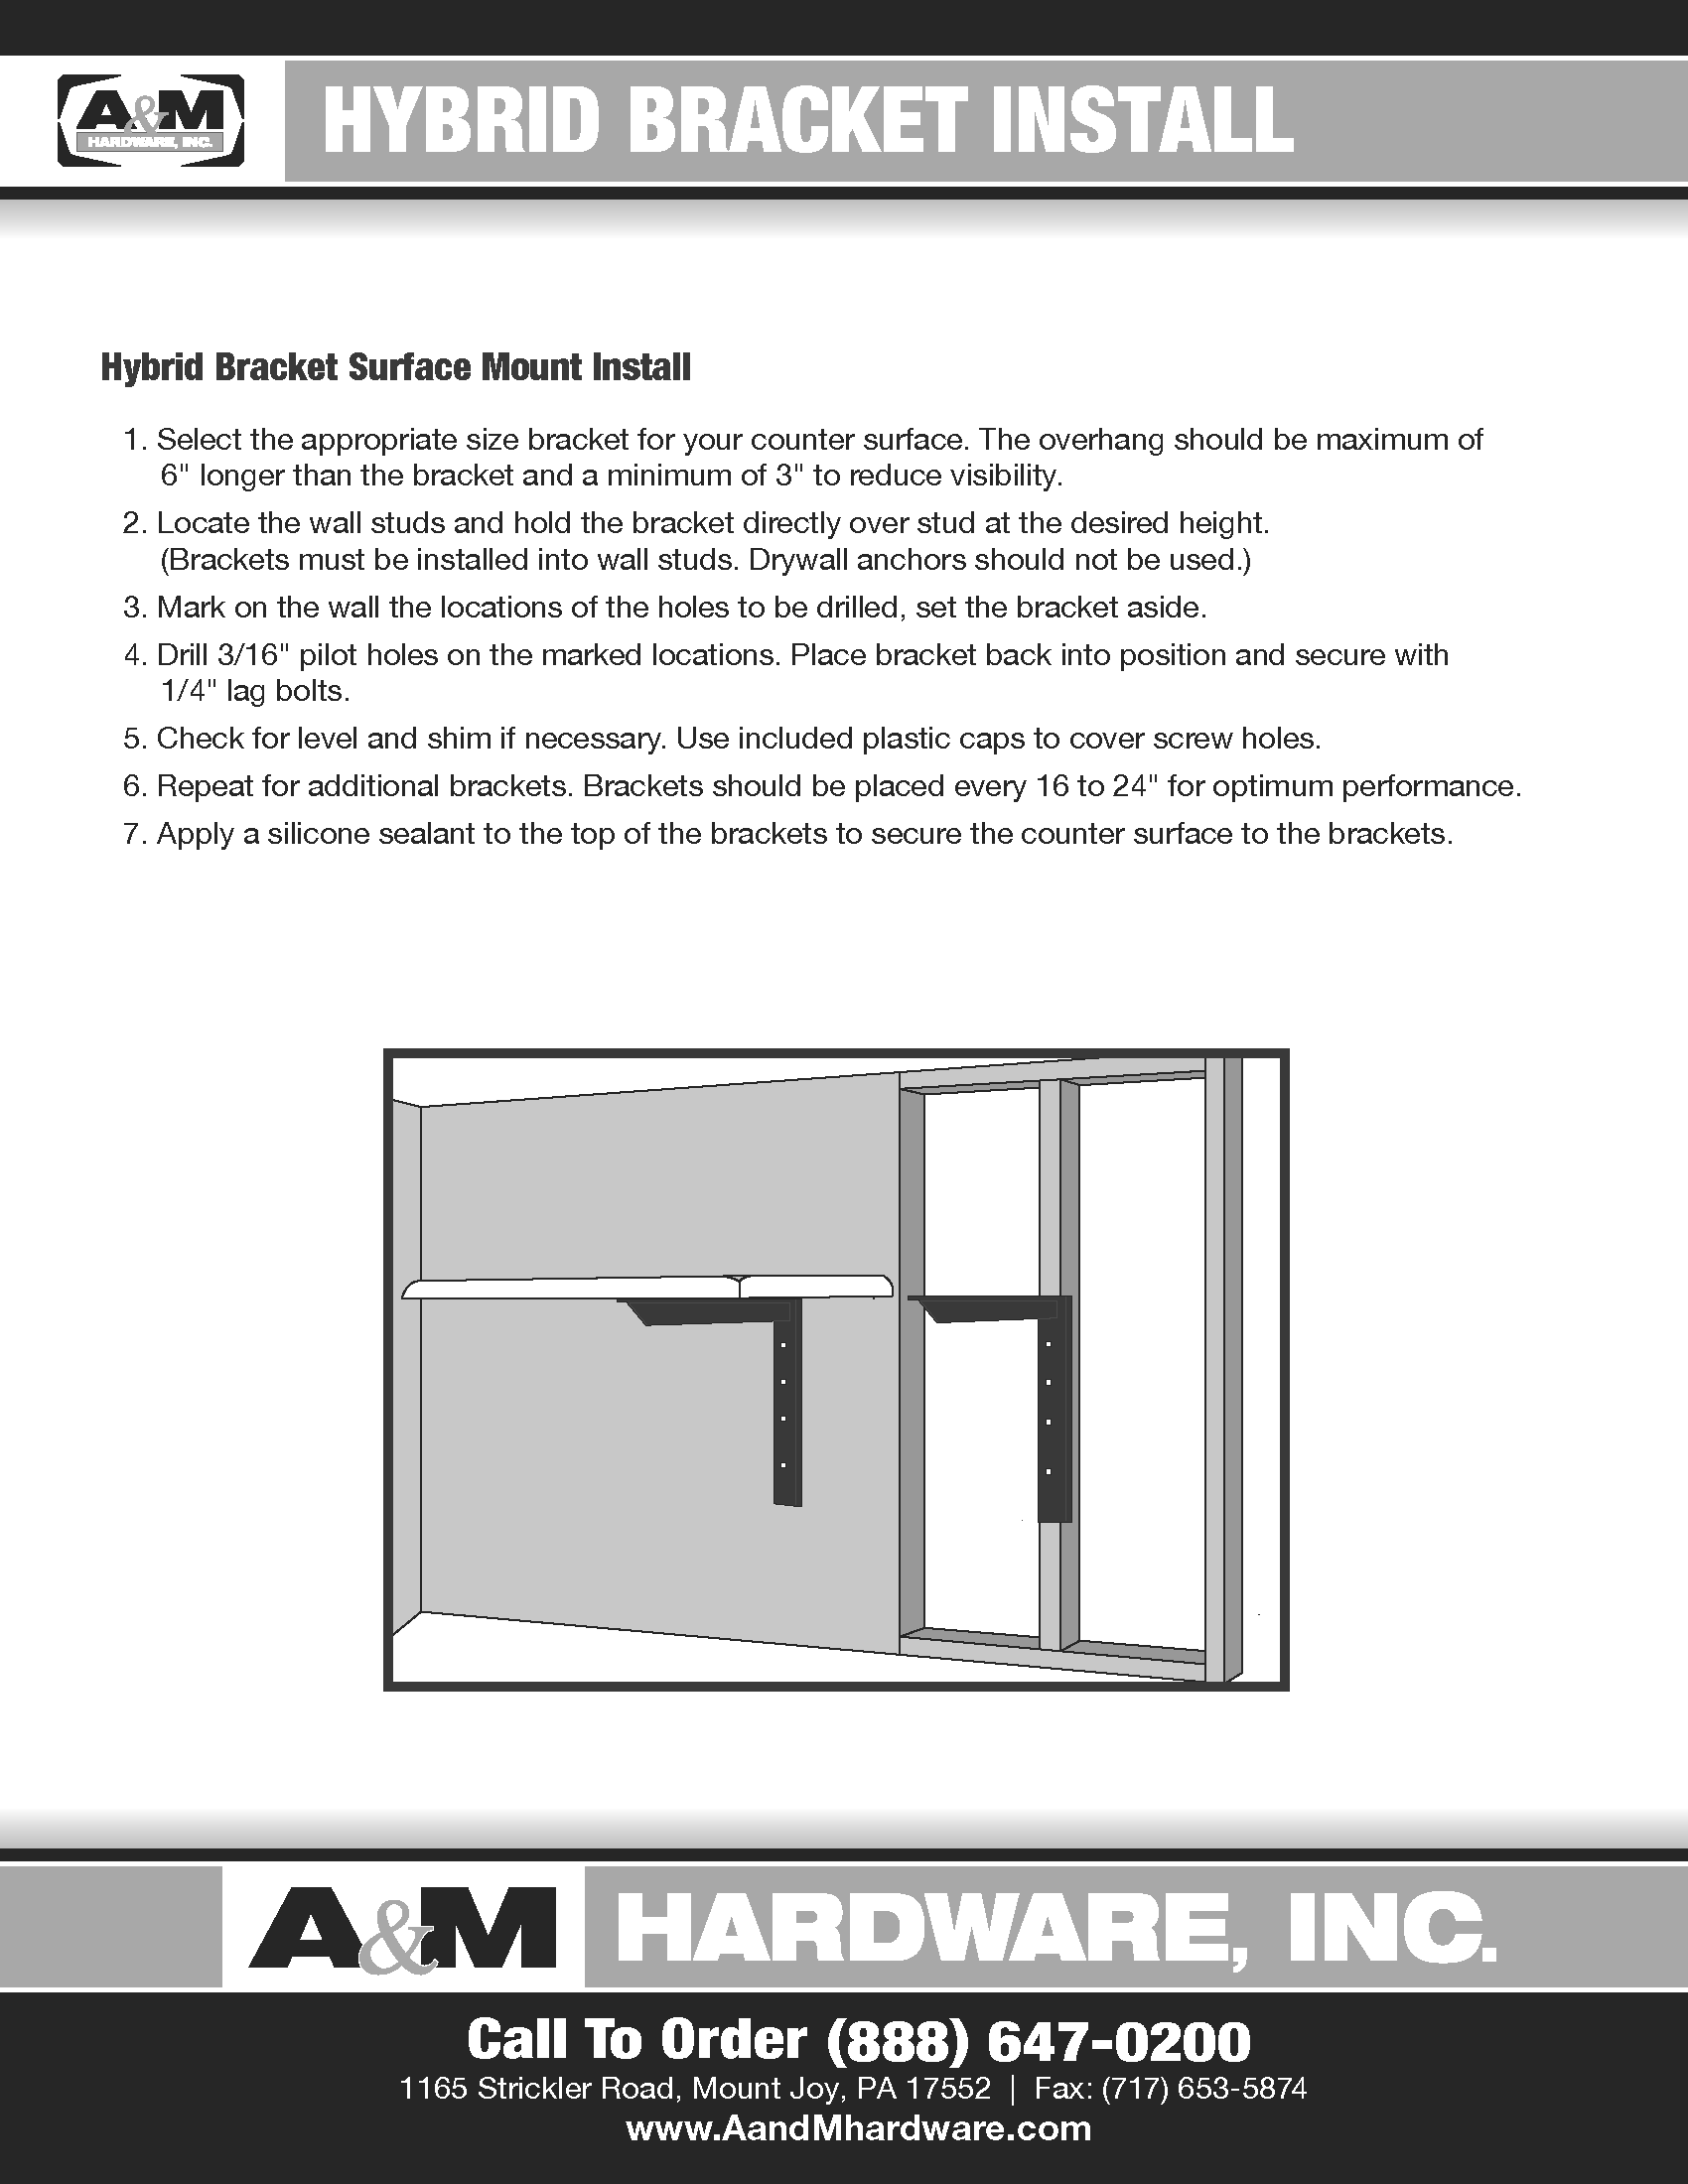
Standard Bracket Installation